
Installing a subway tile backsplash is a classic choice for any kitchen, bath, living room or other areas of the home. Its versatility and durability mean a renovation done with subway tile will last for years to come and, at the same time, remain timeless. Of course, with all construction, the tile installation process must be done correctly to ensure the beauty and longevity of the product. The final step, grouting wall tiles, is just as important as the initial stages.
Looking to grout your subway tile? Visit one of our 6 NJ locations for the tools you need:
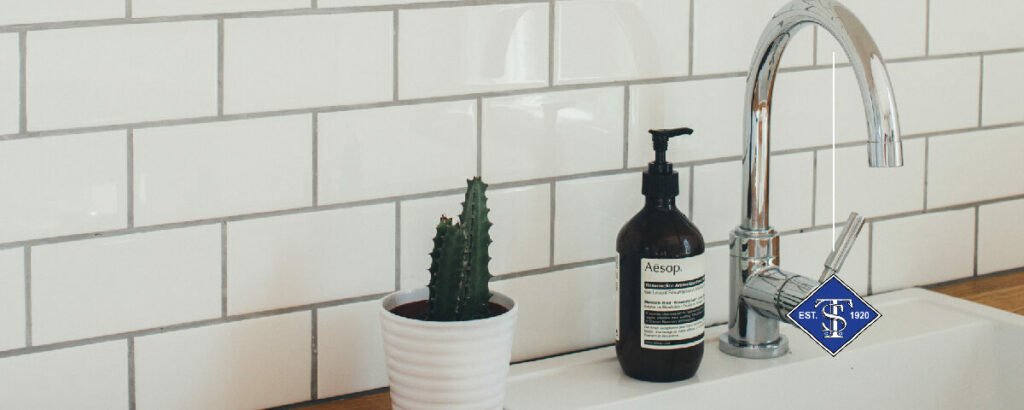
Standard Tile In Jersey City NJ
Preparation For Grouting
Most subway tiles are used as backsplash tiles or in shower areas. Once the tiles are properly adhered to the wall and allowed to cure, the grout is ready to be applied. The first step is determining the type of grout you need. Consider the following options:
- Finely sanded grout, such as Laticrete’s Permacolor grout is recommended for tiles with joints that are 1/16 to 1/2 inches. This type of product contains a light sand mix compound which makes it strong enough to use in a wide grout line, but fine enough to use on smaller ones.
- Unsanded grout produces a smoother grout but should be reserved for thin grout lines less than 1/8 inches.
- Epoxy grout is nice for kitchens as it is stain-resistant, but it dries quickly, so it is recommended to grout small sections at a time.
- Powdered grout needs to be mixed with water and should only be mixed when ready to be used.
- Pre-mixed grout is ready to go and is more suitable for small DIY projects.


Time To Grout Tile
Once you have the grout type figured out, it is time to start the job. Spread plastic sheeting over all surfaces to protect them and use painters’ tape to secure it. Make certain that the tile is clean and remove the spacers.
- If the tile or stone is porous, apply a sealant to prevent staining.
- Mix the grout according to the directions.
- Only apply the grout to a 5-10 square foot area at a time.
- Using a grout float, scoop the grout out with one end.
- Holding the float at a 45 degree angle, sweep diagonally or upward over the area while forcing the grout into the spaces.
- To complete the coverage, use the float at a 75-90 degree angle to add more grout.
- After about 15-20 minutes, use a grout sponge that is dampened with warm water to remove excess grout and clean the tiles.
- Use your finger or putty knife to run along the grout line and remove any excess product.
- Once the grout is firm, take a damp cloth and wipe away the film on the tiles. Continue rinsing the cloth until the tiles are completely free of haze.
- In 24 hours, put a sealant on the grout and allow to dry.
Takeaways
- Grouting is an essential part of tile application and should be done quickly and efficiently.
- Choose the type of grout based on your individual situation – sanded, unsanded, epoxy, powdered or pre-mixed.
- Cover exposed areas with sheeting and painters tape to secure.
- Do one area at a time.
- Push the grout into the lines with a finger or tool and rinse away any excess grout.
- Apply sealer when the grout is completely dry.
Since 1920, Standard Tile has provided gold standard products and services to the people of New Jersey. We are family owned and operated. Our competitive prices and dedication to complete customer satisfaction shines whether we are serving consumers, contractors and designers. Call us today to get started on your next tile project: 1-800-648-TILE.